LEGO Model Building Animation
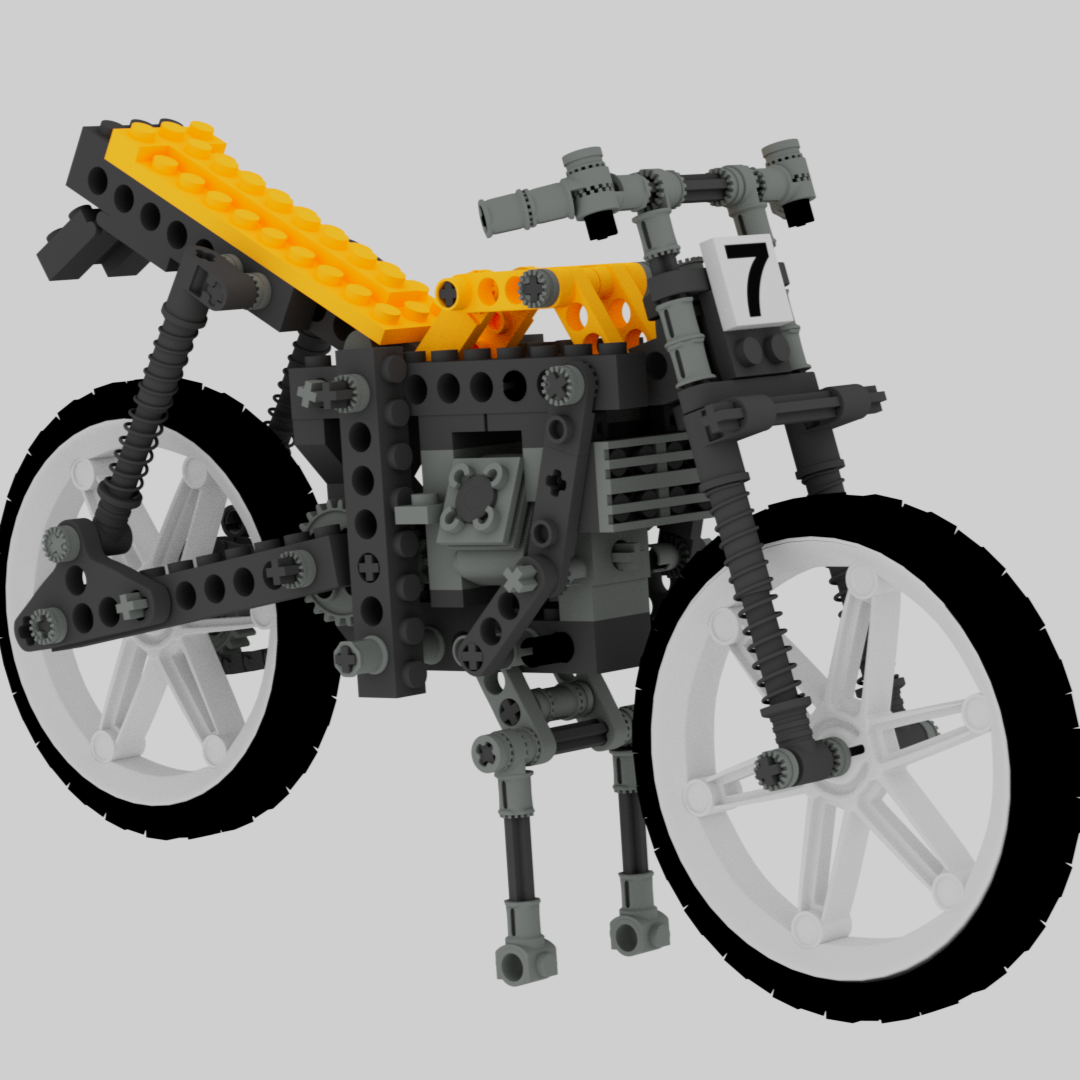
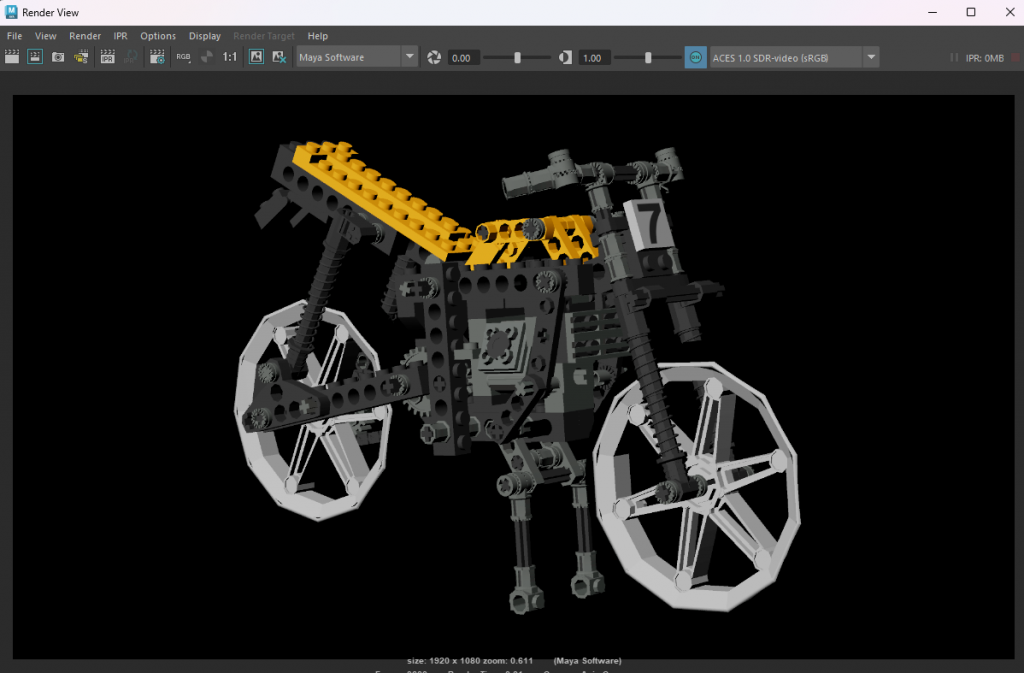
As an academic term project, I worked with a teammate to produce this animation of the LEGO Shock Cycle (8838-1) (1991) from the LEGO Technic series being assembled.
Process
This was the big, final project in a class about procedural modelling, animation, and the rendering pipeline. Each group was tasked with modelling all of the pieces needed for the model, animating their assembly, and rendering a final video. We completed the majority of this project in Autodesk Maya, from modelling to animation and rendering.
Modelling
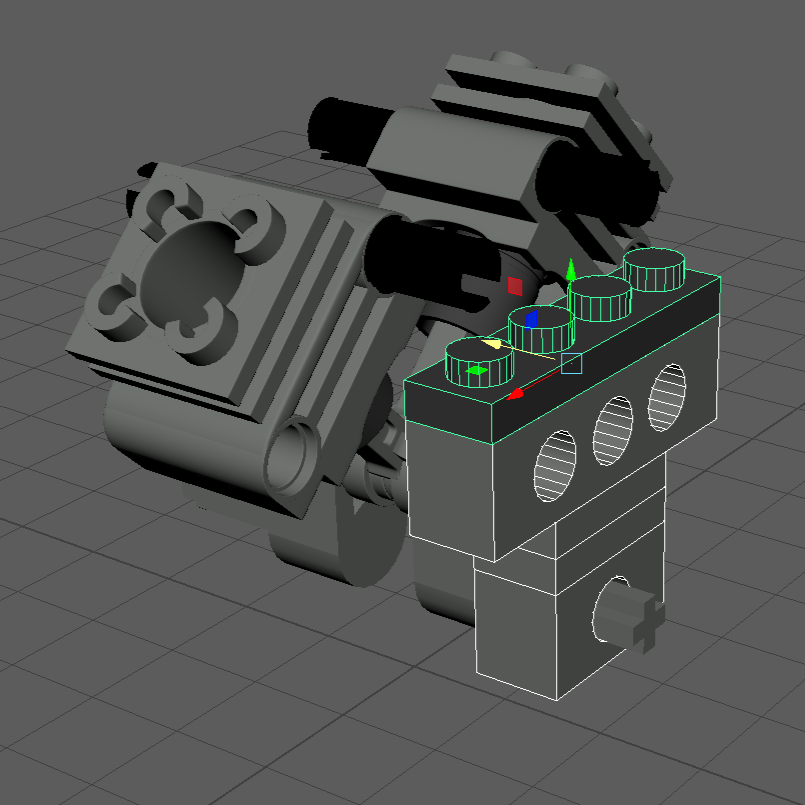
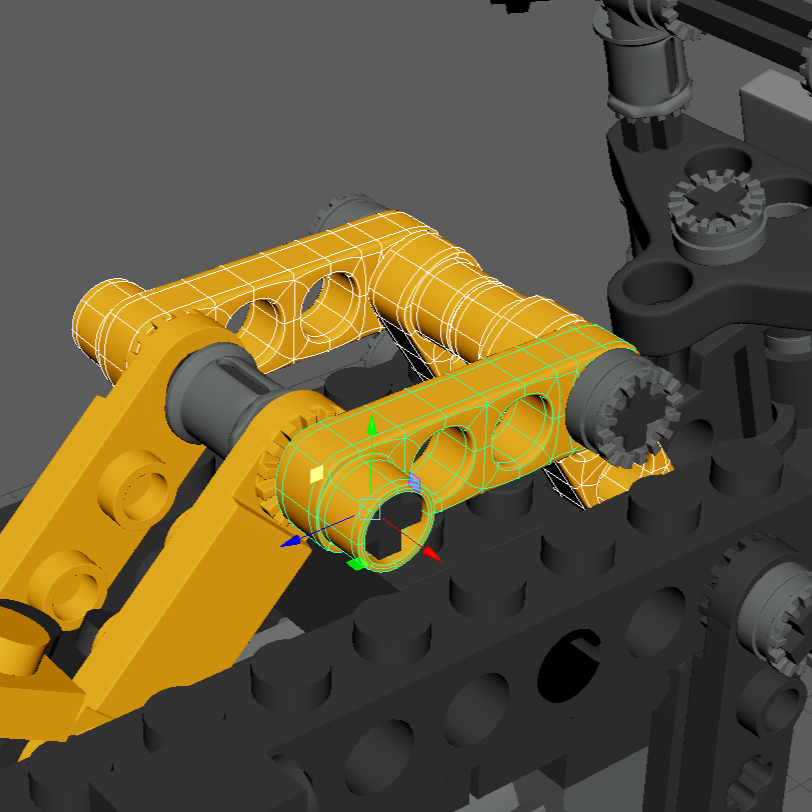
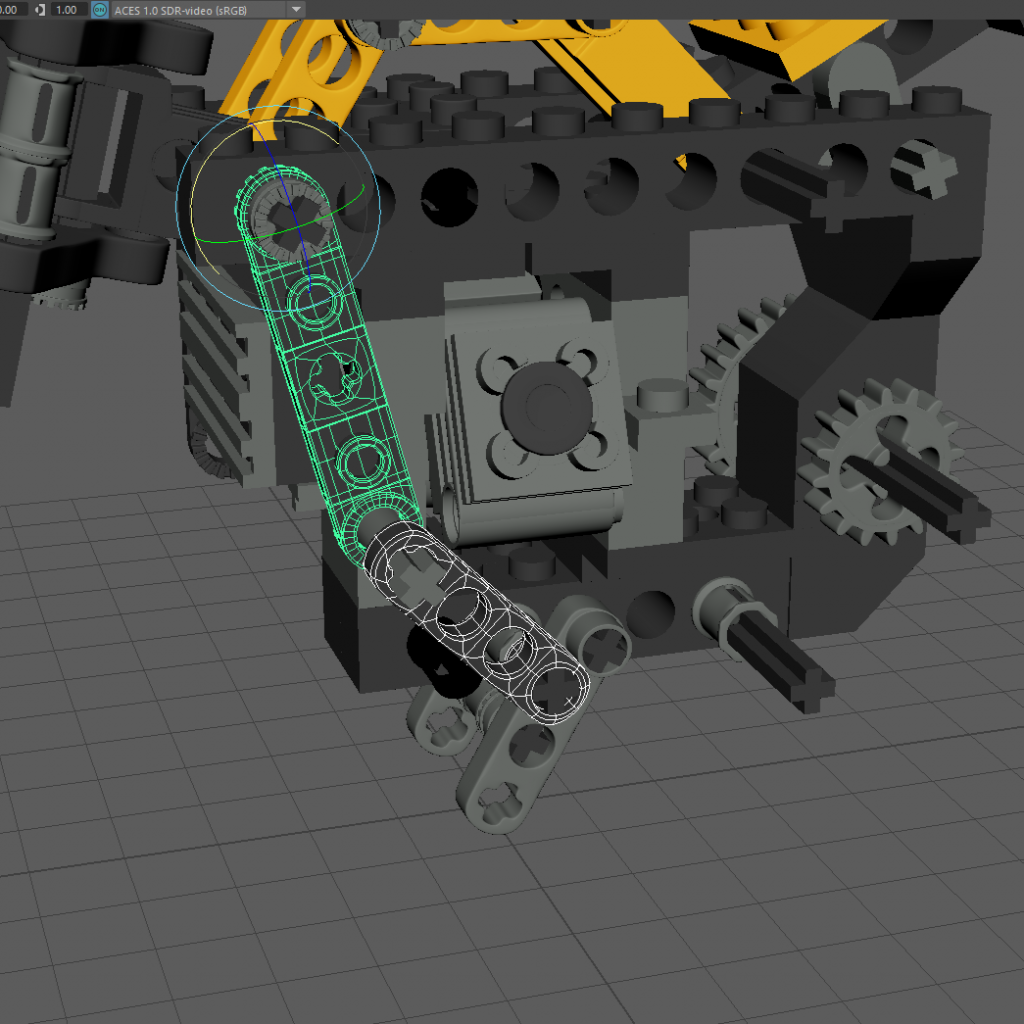
My team used procedural modelling techniques to create the standard LEGO brick, plate and axle pieces. We then modelled the rest of the pieces manually. To get the piece proportions as accurate as possible, we made the procedural pieces with their real-world measurements. With the procedural pieces as guides, we were able to model the rest of the pieces to fit with them. In total, the model contains 251 pieces with approximately 50 different kinds of pieces.
Animation
To produce the animation of the pieces being assembled, my teammate came up with the clever idea of working backwards. We started by fully assembling the model in the virtual space by following the model’s original instructions. Then, we created animations for each piece detaching from the model in the reverse order of the steps in the instruction manual. After that, it was just a matter of fine-tuning the timing for each piece to fly in and attach itself.
Once we finished the animation, it was time to work on the camera. The camera needed to be in the right positions at the right times to clearly capture each step. Additionally, it needed to be angled to not capture the pieces appearing before they moved into the scene. We started by choosing the key positions the camera needed to be in to clearly capture the steps. Then we made sure the camera moved smoothly between each of the key positions at the right times.
Rendering
Finally, once the model and animation were complete, we needed to render the whole process into a video. We kept the lighting in the scene very simple to cut down on render time while still clearly and pleasantly showing off the model. After rendering the frames, we assembled them into the final video using Adobe Premiere Pro.
Personal Contributions
I handled a lot of the manual modelling for this project. The LEGO Technic series features some complex pieces, such as the gears and other pieces intended to work with the axle. It was challenging to get their dimensions correct and ensure that they would interlock properly. While a lot of guesswork went into the sizing, I tried to make the pieces in an order that would allow me to base them off each other.
My second main task was working with the virtual camera. I already touched the process above, but the primary challenge for the camera was keeping it in the right place at the right time. I spent a significant amount of time fine-tuning the camera’s movements to catch each step from a good angle.